Geofences
A GeoFence is a virtual barrier. GeoFences can be drawn onto the SkyRouter maps as overlays and rules alerts can be configured so that devices trigger events when they perform actions such as they exit and enter the GeoFence.
Geofence Types
Server-side GeoFences
Server-side GeoFences are stored and processed on the server only. This means that events such as Enter and Exit GeoFence are only sent when a position report is received by SkyRouter and SkyRouter determines that the device has entered or exited a GeoFence. These events are generated by the server, not the device.
AVR GeoFences
Advanced Variable Response (AVR) GeoFences are stored on the device. This means that the device can detect when it has entered or exited a GeoFence and immediately send events to the server or alter the reporting rate. AVR GeoFences are only available to devices that support AVR GeoFences, this is currently HE7200x and HE5x00 devices.
Adding a Geofence
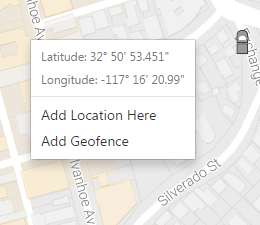
- From the Map Window; right click the map
- From the Right Click menu; click Add GeoFence
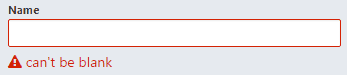
- Enter a GeoFence Name.
- Draw the GeoFence.

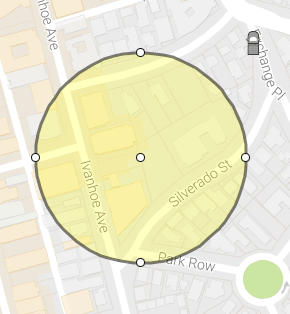
Circle
- Click the Map to define the center of the GeoFence.
- Drag the mouse outwards until the GeoFence is the appropriate size.
- Click the map to finish drawing.
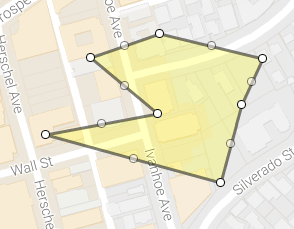
Polygon
- Click the Map to define the starting point.
- Move the mouse to the next point and click the map.
- Continue this process until you have defined the GeoFence area (may contain up to 8 points.)
- Click the map at the location of the starting point to close the GeoFence.
- Click the Events tab on the Geofence window, checkbox the appropriate events.
- Click the Assets tab on the Geofence window; add device(s) to your GeoFence.
- Click Create GeoFence.